
Monday to Saturday - 8:00 -17:30

1. Introduction
A heavy mining excavator stops swinging. A haul truck engine derates on a ramp. A dozer loses track power. In the high-pressure environment of heavy industry, the immediate reaction is often a rush to swap parts, clear codes, and get the machine back to work.
But machines rarely fail because of bad luck, and guessing is not a strategy.
The heavy equipment industry does not need more “parts changers” who rely on trial and error at the asset owner’s expense. The industry needs Diagnostic Leaders. A Diagnostic Leader understands that every mechanical, electrical, or hydraulic failure leaves a trail of physical evidence. The technician’s fundamental responsibility is to collect, analyze, and prove that evidence before a single wrench is turned.
This article establishes the authoritative Heavy Equipment Diagnostic Process. It is designed to teach you not just what to do, but how to think.
2. Why Diagnostics Is the Highest Value Skill
In modern heavy equipment operations, downtime is measured in thousands of dollars per hour.
Anyone can unbolt a hydraulic pump or replace a diesel fuel injector. The physical labor of repair is a baseline expectation. The true value of a heavy equipment technician lies in the intellectual capability to determine exactly which component has failed, why it failed, and how to prevent it from happening again.
The Heavy Equipment Diagnostic Process is the dividing line between a mechanic and an applied systems engineer. Technicians who master diagnostics eliminate repeat failures, dramatically reduce maintenance costs, and earn the professional respect of their peers and workshop managers.
3. What Is Professional Diagnostics?
To become a Diagnostic Leader, you must first understand the distinct differences between standard workshop activities:
┌─────────────────────────────────────────────────────────────────┐
│                    THE STAGES OF MACHINE REPAIR                 │
├──────────────────┬──────────────────────────────────────────────┤
│ Activity         │ Definition                                   │
├──────────────────┼──────────────────────────────────────────────┤
│ Repair           │ The physical act of replacing or rebuilding  │
│                  │ a known damaged component.                   │
│ Troubleshooting  │ The general process of hunting for a fault   │
│                  │ using experience and symptom recognition.    │
│ Diagnostics      │ A disciplined, evidence-based engineering    │
│                  │ process to systematically isolate a fault.   │
│ Root Cause       │ The investigation into WHY the component     │
│ Analysis (RCA)   │ failed (e.g., contamination, fatigue, abuse).│
└──────────────────┴──────────────────────────────────────────────┘
Professional diagnostics is the bridge between a broken machine and a permanent repair. It relies on logic, OEM specifications, and empirical testing rather than assumptions.
4. Symptoms versus Root Causes
The most common trap for an apprentice technician is treating a symptom as if it were the disease.
Professional technicians diagnose systems—not symptoms.
A symptom is the visible effect of a failure. A root cause is the underlying physical reason the failure occurred.
- Symptom: The diesel engine is emitting thick black smoke under load.
- Assumption: “The fuel injectors are over-fueling. Replace them.”
- Root Cause: A ruptured charge-air cooler boot is allowing boost pressure to escape, creating an air-starved, rich air-to-fuel ratio. The injectors are fine.
- Symptom: A hydraulic cylinder is drifting downward under a load.
- Assumption: “The cylinder seals are blown. Repack the cylinder.”
- Root Cause: The line relief valve on the main control valve block has a broken internal spring and is bypassing oil to the tank. The cylinder seals are fine.
To execute a professional heavy equipment diagnostic process, you must train your mind to look past the obvious symptom and trace the system backward to the root cause.
5. The Modern Trade Skills Eight-Step Diagnostic Framework™
This Heavy Equipment Diagnostic Process is the core troubleshooting framework of Modern Trade Skills. Following this exact pipeline prevents guesswork, saves time, and guarantees evidence-based repairs.
Step 1: Confirm the complaint.
Never take a work order or an operator’s description as absolute truth. “Machine lacks power” could mean engine derate, hydraulic pump inefficiency, or dragging brakes. Operate the machine yourself. Replicate the failure conditions safely. Log the exact parameters (temperatures, RPM, gear, load) when the fault occurs.
Step 2: Understand how the system works.
You cannot fix what you do not understand. Before opening a toolbox, open the OEM service manual. Review the hydraulic, electrical, or pneumatic schematics. Identify the flow of energy, the control signals, and the exact OEM specifications (voltage, pressure, flow rate) required for normal operation.
Step 3: Gather evidence.
Interview the operator. Check the machine’s service history. Download the Engine Control Module (ECM) data to review active and logged diagnostic trouble codes (DTCs), freeze-frame data, and operational histograms.
Step 4: Inspect before testing.
Do not bypass the human senses. Walk around the machine. Look for rubbed wiring harnesses, leaking hydraulic fittings, cracked brackets, or unseated electrical connectors. Smell for burnt electrical insulation or overheated friction material. Listen for abnormal pump cavitation or engine knocking.
Step 5: Test before replacing.
Formulate a hypothesis, then test it. Use your digital multimeter (DMM) to check voltage drop across a circuit. Install a 400-bar gauge to check main hydraulic relief pressure. Perform an injector cylinder cut-out test using an Electronic Service Tool. You must mathematically or physically prove the component has failed before unbolting it.
Step 6: Identify the root cause.
Analyze the test data. If the hydraulic pump pressure is low, is it because the pump is destroyed, the suction strainer is blocked, or the load-sensing signal line is leaking? Identify the primary physical failure.
Step 7: Repair correctly.
Execute the repair using OEM procedures. Use correct torque specifications, replace O-rings, enforce absolute contamination control, and observe all heavy equipment safety and Lock Out / Tag Out (LOTOTO) procedures.
Step 8: Verify the repair and prevent recurrence.
Clear all fault codes. Test the machine under the exact load conditions confirmed in Step 1 to prove the symptom is gone. Finally, update the maintenance strategy (e.g., shorten filter intervals, improve operator training) to prevent the failure from returning.
6. Diagnostic Thinking
The Heavy Equipment Diagnostic Process is not just a checklist; it is a mindset modeled on the scientific method. Diagnostic thinking relies on five pillars:
- Observation: Seeing the machine objectively without bias.
- Evidence: Relying on measurable data (volts, PSI, temperatures) rather than opinions.
- Logic: Understanding that if ‘A’ controls ‘B’, a failure in ‘B’ might actually be a loss of input from ‘A’.
- Testing: Using precision instruments to isolate variables.
- Verification: Proving the fix worked through rigorous post-repair operation.
7. Common Diagnostic Mistakes
Even experienced technicians can fall into bad habits. The most common diagnostic failures in a workshop include:
- Replacing Parts Too Early (“Shotgunning”): Throwing expensive components at a machine until the problem magically disappears.
- Trusting Assumptions: Assuming a part is good simply because it was replaced recently. (New parts can fail out of the box).
- Ignoring Inspections: Spending hours on a laptop looking at software data while ignoring a massive physical oil leak right in front of them.
- Skipping Tests: Failing to measure actual circuit voltage under load, leading to misdiagnosed ECMs or actuators.
- Following Fault Codes Blindly: Treating a digital code as a parts-ordering menu.
8. Diagnostic Tools
A Diagnostic Leader pairs cognitive logic with the correct diagnostic hardware:
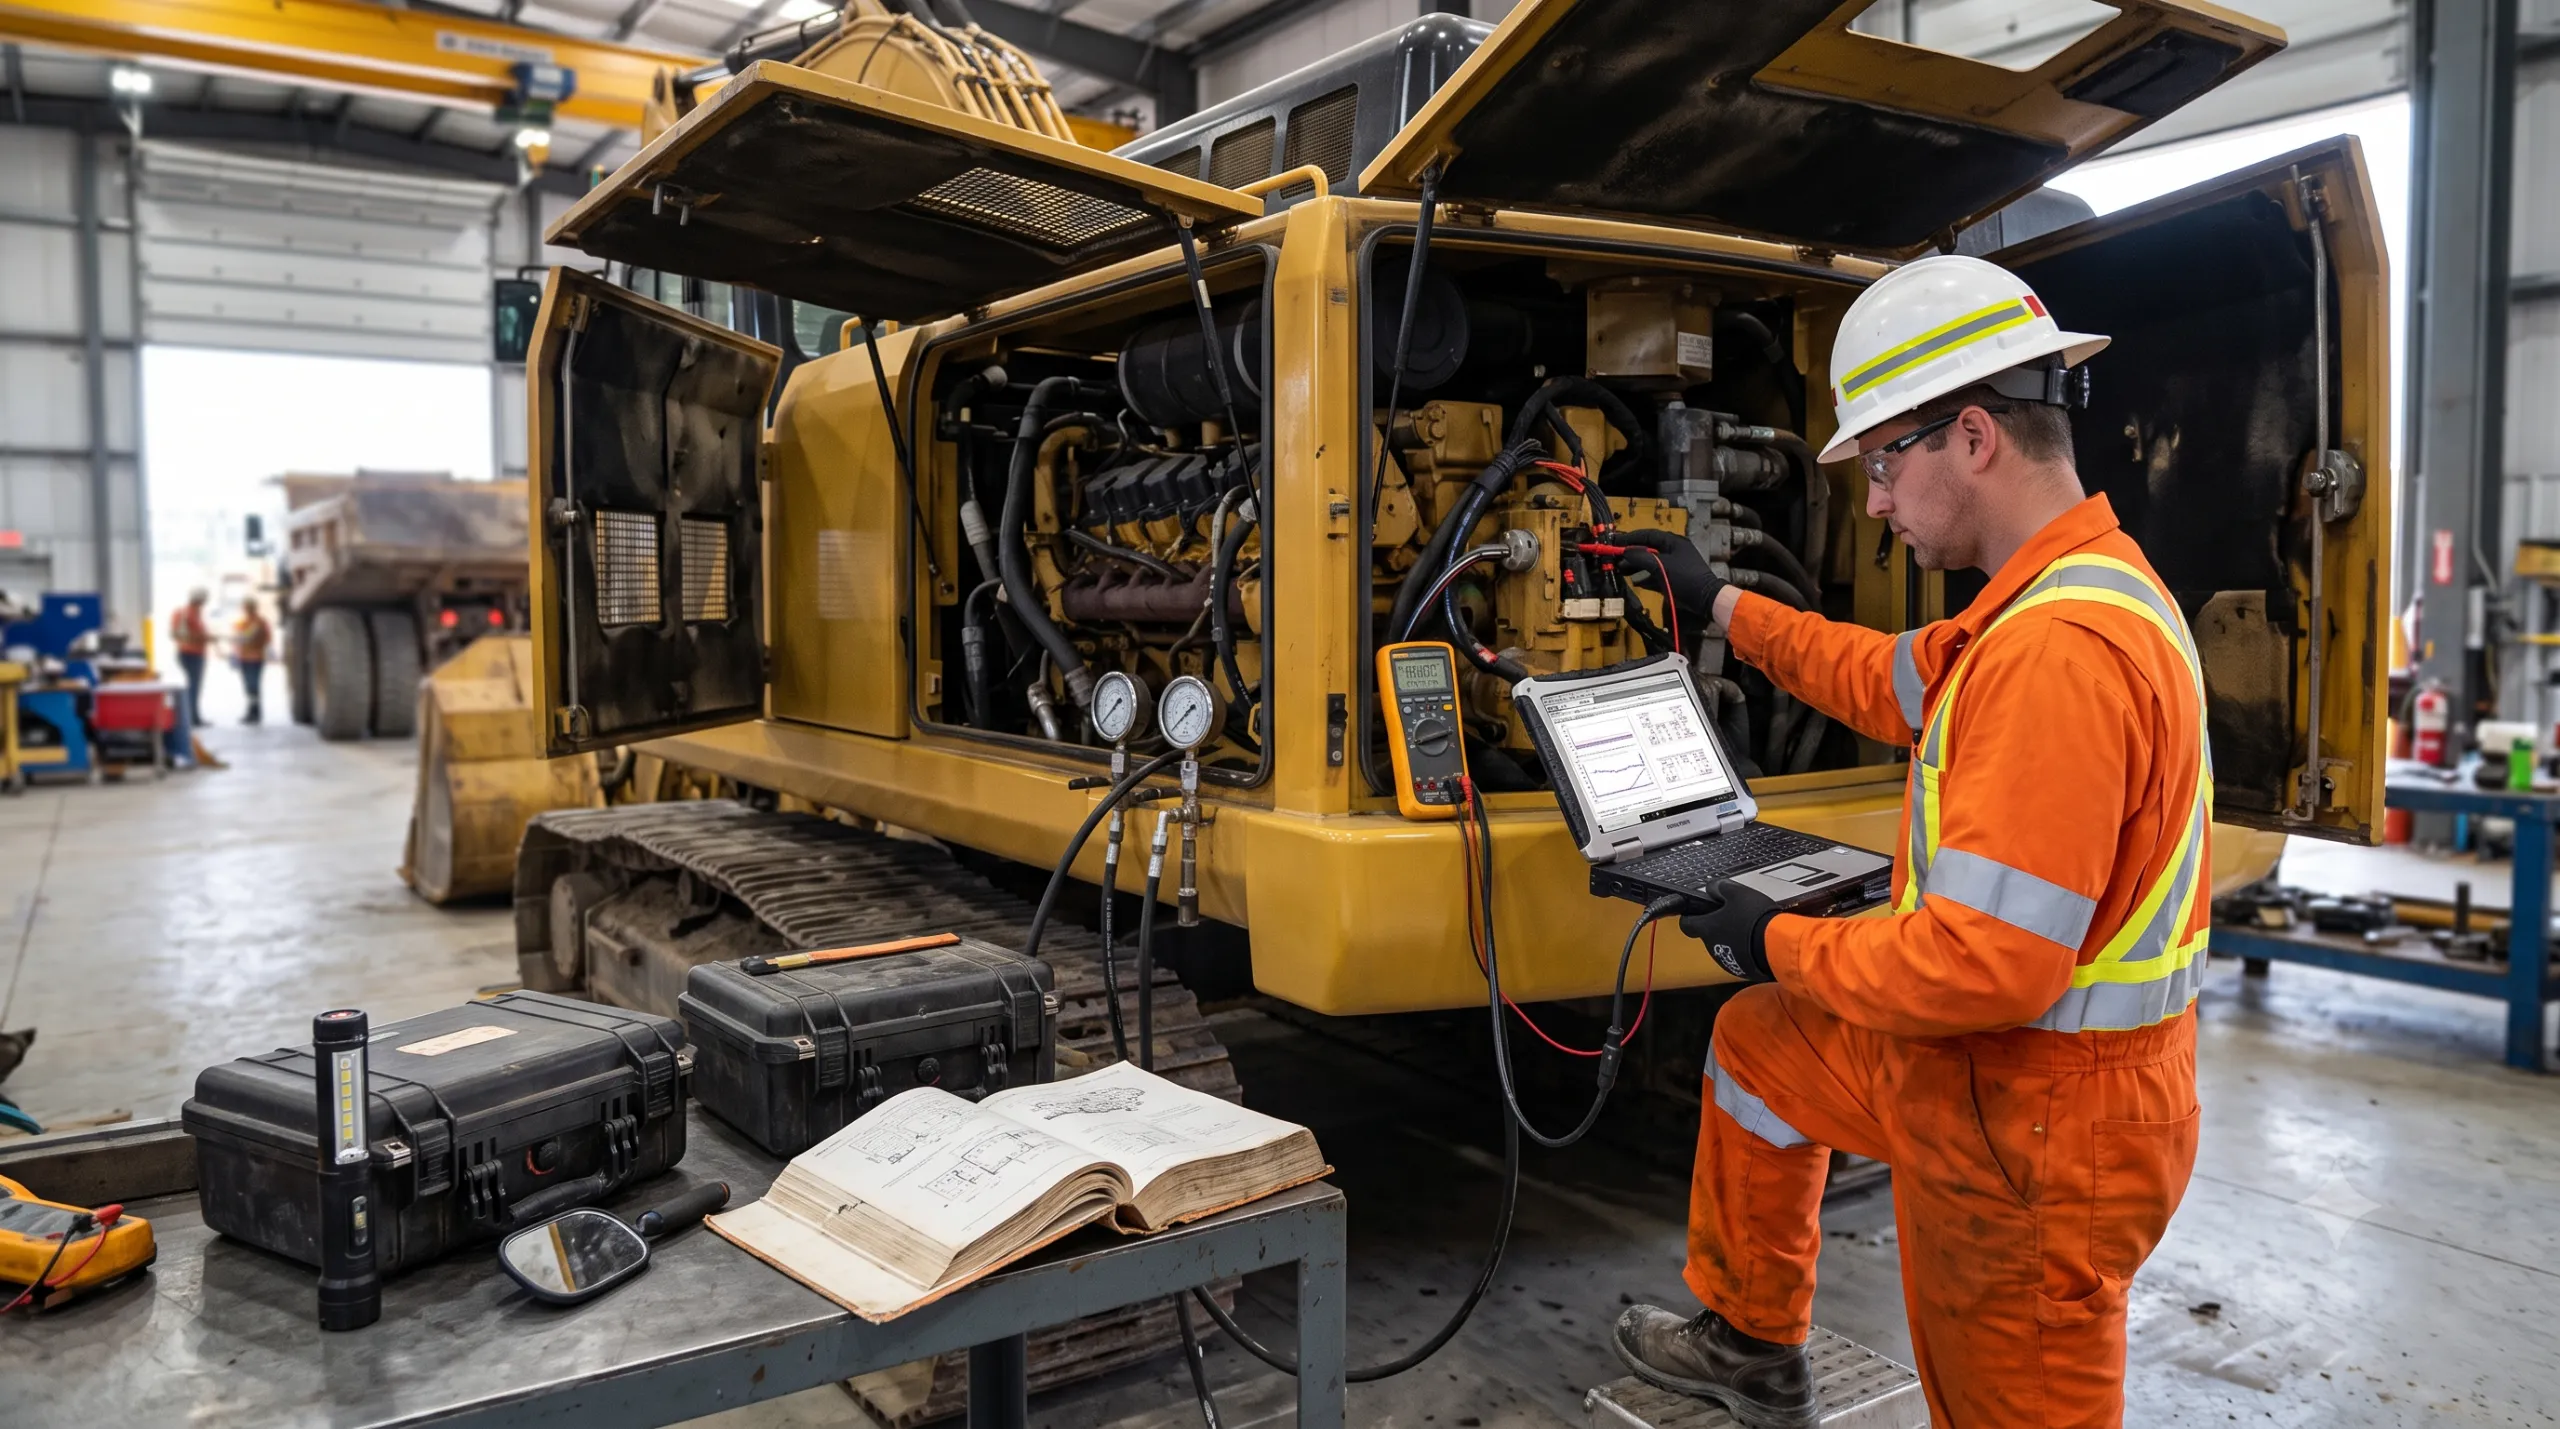
- Visual Inspection: Your eyes, a good flashlight, and a diagnostic mirror.
- Pressure Gauges: High-quality fluid-filled analog gauges or digital pressure transducers for hydraulics and pneumatics.
- Multimeters (DMM): Fluke or equivalent high-grade meters for measuring voltage, resistance, and continuity.
- Laptop Diagnostics (EST): OEM Electronic Service Tools (e.g., Cat ET, Cummins INSITE, Volvo Tech Tool) to communicate with machine networks.
- Oscilloscopes: To visualize high-speed electronic signals (like CAN bus data or PWM signals) that are too fast for a standard multimeter.
- Oil Analysis: SOS fluid sampling to detect microscopic wear metals inside engines, transmissions, and final drives.
- Thermal Cameras: To safely identify dragging brakes, localized circuit high-resistance, or hydraulic internal bypassing (friction generates heat).
9. Chief Engineer’s Case Files
CASE FILE: The $2,000 Fault Code
While working as a Workshop Supervisor at RioZim in Zimbabwe, the Chief Engineer was presented with a requisition to replace a fuel injector on a Caterpillar 793D rigid dump truck.
The machine had displayed a diagnostic code indicating an injector fault. The technician immediately concluded that the injector had failed and requested a replacement injector.
Before approving the requisition, the Chief Engineer asked a simple question:
“Have you confirmed that the injector itself is faulty?”
The technician admitted that he had relied entirely on the diagnostic code.
Together they inspected the machine. After removing the top deck cover, they carefully examined the injector wiring and electrical connections. They discovered that one electrical connector supplying the injector had become loose.
The injector itself had not failed. The loose connection interrupted the electrical signal between the Engine ECM and the injector. The Engine ECM correctly detected an abnormal injector circuit and generated a fault code. However, the fault code did not mean the injector itself was defective.
The damaged connector was replaced. The wiring was secured correctly. The fault code was cleared. The engine immediately returned to normal operation. No injector replacement was required, and the truck returned to production.
What This Case Teaches
This real-world event perfectly illustrates the foundational law of electronic engine diagnostics:
A fault code is the beginning of a diagnosis—not the end of one.
- Fault codes identify abnormal conditions: The ECM only knows that current isn’t flowing properly; it cannot see why.
- Fault codes do not automatically identify failed components: The code indicates the circuit, which includes the ECM, the wiring harness, the connectors, and the component itself.
- Wiring faults imitate component failures: A broken wire will trigger the exact same code as a completely destroyed sensor or actuator.
- Always inspect before replacing: A five-minute visual inspection saved thousands of dollars in parts and hours of unnecessary labor.
- Parts changers assume. Professional technicians verify: Gathering physical evidence protects machine availability and the technician’s reputation.
10. What This Means for Technicians
Adopting the Modern Trade Skills Eight-Step Diagnostic Framework™ will fundamentally change your daily behavior on the workshop floor.
- Professional Confidence: You will no longer feel anxiety when facing a complex fault. By relying on a structured process, you break overwhelming problems down into manageable, binary steps.
- Logical Thinking: You will learn to trace schematics and understand the physical reality of the machine, rather than guessing based on past experiences.
- Reduced Repeat Failures: By finding the root cause instead of just treating the symptom, the machine stays fixed when it leaves your bay.
- Lower Maintenance Costs: Eradicating the “parts changing” mentality directly protects the operation’s bottom line.
- Improved Machine Availability: Structured diagnostics are ultimately faster than trial-and-error, returning critical assets to production sooner.
- Professional Credibility: Supervisors, engineers, and asset managers quickly identify and promote technicians who provide logical, evidence-backed answers.
11. Diagnostic Checklist
Print this checklist and keep it in your toolbox. Never replace a major component without checking these boxes first.
┌─────────────────────────────────────────────────────────────────┐
│              THE DIAGNOSTIC LEADER VERIFICATION CHECKLIST       │
├─────────────────────────────────────────────────────────────────┤
│ [ ] Have I personally operated the machine to confirm the fault?│
│ [ ] Have I reviewed the machine's recent service history?       │
│ [ ] Have I checked for active AND logged fault codes?           │
│ [ ] Have I read the OEM system theory and schematics?           │
│ [ ] Have I performed a thorough physical/visual inspection?     │
│ [ ] Have I tested the circuit/system with physical gauges/DMM?  │
│ [ ] Have I mathematically/physically proven the component failed│
│ [ ] Have I identified the root cause of the failure?            │
└─────────────────────────────────────────────────────────────────┘
12. Key Takeaways
- Diagnosis is an engineering discipline: It is a systematic process of gathering evidence, not a guessing game.
- Understand symptoms vs. root causes: Treat the disease, not just the visible signs.
- Follow the 8-Step Framework: Confirm, Understand, Gather Evidence, Inspect, Test, Identify, Repair, Verify.
- Codes are clues, not instructions: A diagnostic fault code tells you where to start looking, not what to buy.
- Test before you replace: If you cannot prove it is broken with a test instrument, do not unbolt it.
13. Frequently Asked Questions
Q1: What is a heavy equipment diagnostic process?
A: It is a structured, logical framework used by technicians to systematically isolate the root cause of a machine failure using evidence, OEM data, and testing instruments, rather than guessing.
Q2: Why shouldn’t I just replace the part the fault code points to?
A: Because the fault code identifies an abnormal condition in a circuit, not necessarily a broken component. A broken wire, a loose connector, or a blown fuse will often trigger the exact same fault code as a failed sensor.
Q3: What is the difference between a symptom and a root cause?
A: A symptom is what you see or experience (e.g., black smoke, slow hydraulics). The root cause is the underlying physical failure that created the symptom (e.g., a burst boost pipe, a scored pump barrel).
Q4: How long should diagnostics take?
A: Diagnostics takes as long as required to find empirical proof of the failure. Rushing diagnostics leads to incorrect repairs, which ultimately causes vastly more downtime than a proper, methodical investigation.
Q5: Do I always need a laptop to diagnose a machine?
A: No. While an Electronic Service Tool (laptop) is excellent for interrogating the ECM, reading codes, and viewing digital parameters, it cannot replace physical pressure gauges, multimeters, and visual inspections.
Q6: What if the machine has no fault codes but isn’t working right?
A: This happens frequently with purely mechanical or hydraulic issues. This is where Step 2 (Understanding the System) and Step 5 (Testing with physical gauges) are absolutely critical.
Q7: Why is confirming the complaint the first step?
A: Because operators and work orders are often inaccurate. An operator might report “bad brakes” when the actual issue is a transmission failing to downshift. If you don’t confirm the exact complaint yourself, you may diagnose the wrong system entirely.
Q8: What is “shotgunning” parts?
A: Shotgunning is a derogatory workshop term for replacing multiple expensive parts at once based on guessing, hoping one of them fixes the problem. It is the exact opposite of professional diagnostics.
Q9: How does schematics reading help in diagnostics?
A: Schematics are the roadmaps of the machine. They show you exactly how hydraulic fluid or electrical current flows from the source to the actuator, allowing you to identify every possible failure point in between.
Q10: Why is visual inspection so important?
A: Because a large percentage of machine failures are physical and obvious. A rubbed wiring harness, a disconnected plug, or a blown hydraulic O-ring can be found in minutes with a flashlight, saving hours of complex testing.
Q11: What is an intermittent failure?
A: A fault that only occurs under specific conditions (e.g., when the machine is hot, turning left, or vibrating heavily) and then disappears. They are the hardest faults to find and require rigorous data logging and physical wire harness “wiggle tests” to locate.
Q12: Can a bad ground connection cause a sensor fault code?
A: Yes. A loose or corroded ground creates high electrical resistance, which lowers the voltage returning to the ECM. The ECM will interpret this abnormal voltage as a failed sensor and throw a code.
Q13: How do I know if I found the true root cause?
A: You have found the root cause when you can logically explain the entire chain of events that led to the symptom, and when repairing that specific failure permanently eliminates the symptom under loaded testing.
Q14: What if I test everything and still can’t find the problem?
A: Go back to Step 2. If you cannot find the fault, it usually means there is a part of the system’s operation or logic that you do not fully understand yet. Re-read the OEM system operation manual.
Q15: How does being a Diagnostic Leader advance my career?
A: Technicians who can solve complex problems efficiently are highly valued. Mastering diagnostics leads to roles as Senior Technicians, Diagnostic Specialists, Reliability Engineers, and Technical Trainers on a global scale.
14. Conclusion
The transition from a parts changer to a Diagnostic Leader is not defined by how many tools you own, but by how you approach a problem.
Professional h diagnostic Process is a disciplined engineering process. It requires patience, an understanding of system physics, and an absolute commitment to gathering evidence. When you apply the Modern Trade Skills Eight-Step Diagnostic Framework™, you remove the guesswork from your daily work.
Machines do not lie, and failures leave evidence. Your job is to find it. Step up, use the framework, and lead your workshop through technical excellence.
15. References
- Modern Trade Skills Handbook Version 1.0 – Institutional Framework & Diagnostic Leader Method™.
- Standard OEM Troubleshooting Guidelines (Caterpillar, Komatsu, Sandvik, Hitachi).
- ISO 4406: Hydraulic Fluid Power — Fluids — Method for coding the level of contamination by solid particles.